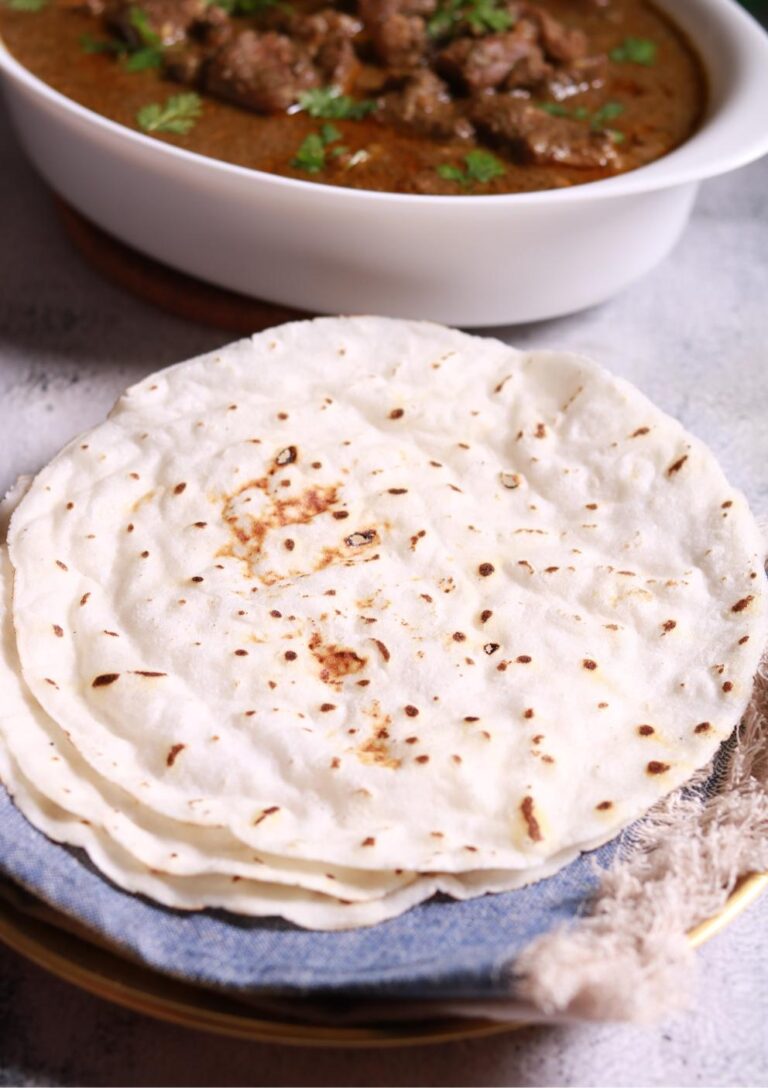
If you’ve never tried Rice Bhakari before, you’re in for a treat and maybe a little kitchen fun, depending on how good you are at shaping gluten-free flatbreads! Rice Bhakari is a simple, rustic flatbread made with just rice flour and water, resulting in a soft, chewy, and gluten-free bread that’s a staple in parts of Maharashtra and South India. It’s especially popular when people want to avoid wheat flour (chakki ka atta) but still crave something to mop up their curries. The best part? It’s genuinely simple, with ingredients you probably already have at home.

Unlike regular rotis, which are kneaded and rolled, Rice Bhakari is shaped by hand something I found both satisfying and a bit challenging the first few times. The texture is a lovely mix of tender and slightly chewy, with a subtle nutty flavor from the rice flour. It’s the kind of flatbread that pairs beautifully with spicy curries, dal, or even just a smear of chutney for a quick snack.
More Bread Recipe
- Missi Roti Recipe: The Punjabi Gram Flour Flatbread.
- Nutrient-Packed Gaith ki Dal Paratha Recipe – Wholesome and Delicious!
- Kerala Paratha: A Flaky South Indian Delicacy
Why Choose Rice Flour?
Rice flour is the heart and soul of Rice Bhakari, and for good reason. Not only is it naturally gluten-free, but it’s also a fantastic option for people with wheat intolerances or celiac disease. For regular eaters, rice flour brings a different kind of tenderness to flatbreads that you just don’t get with wheat—think of it as the soft, comforting cousin of your regular chapati.
Nutritionally, rice flour is lighter on the digestive system and can be easier on the stomach after a heavy meal. And let’s not forget, when you’re out of atta and still want fresh roti, rice flour swoops in to save dinner. Just remember, the finer the rice flour, the softer your bhakari will be. Coarser versions can work, but they yield a denser, chewier result.
Ingredients for Rice Bhakari
Here’s what you’ll need for 4 bhakaris double the batch if you’re cooking for a hungry crowd or want leftovers. The great thing about Rice Bhakari is that you only need two things, plus a splash of water for shaping:
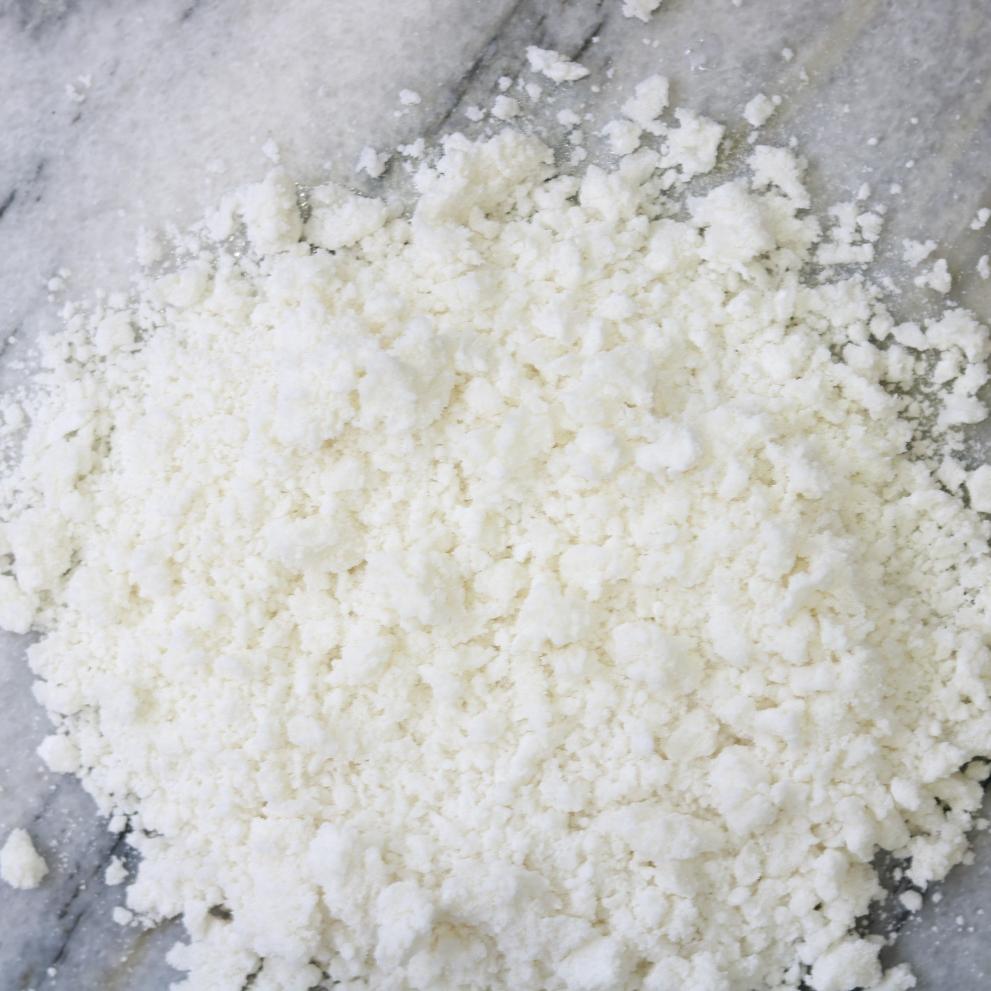
- 1½ cups fine rice flour (chawal ka atta, not glutinous rice flour)
- 150 ml not boiling water (roughly ½ cup plus 2 tbsp)
- A little extra water for keeping your hands wet and smoothing the dough
That’s it! No salts, no oils, no spices just pure, simple ingredients for a naturally gluten-free flatbread. For smoother bhakaris, make sure your rice flour is finely ground and no longer smells raw. If you’re feeling experimental, you can add a pinch of salt or even some chopped herbs, but honestly, the classic version stands beautifully on its own.
Rice Bhakari:- Photo Gallery


How to Make Rice Bhakari
Let’s walk through making Rice Bhakari step by step. I promise it’s easier than it looks!
Prepare the Dough:
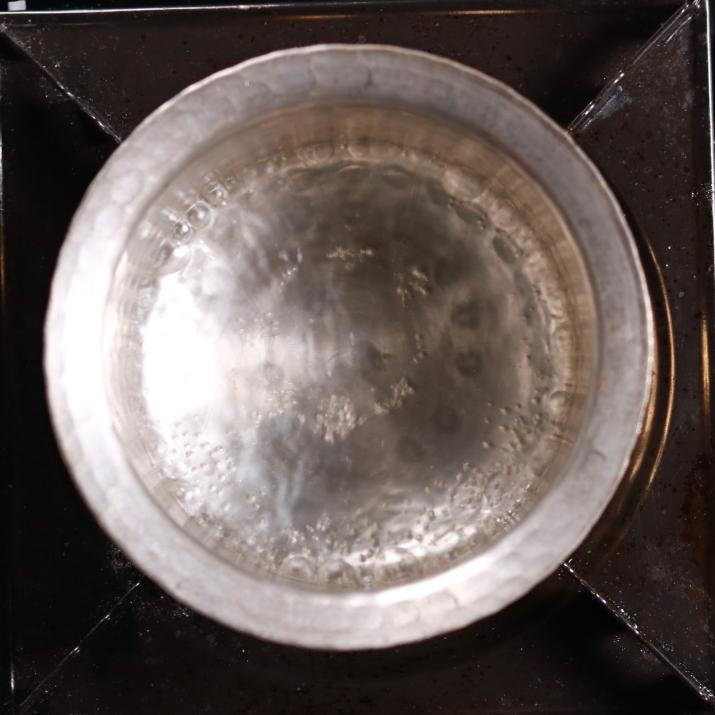
Pour water into a sturdy pan and heat it until it’s just about to boil (tiny bubbles at the edges are your cue). Drop the heat to low, dump in all the rice flour at once, and stir like your arm depends on it. Keep stirring until the mix turns into a soft, hot dough it’ll look a bit like sticky oatmeal but don’t panic, it cools and firms up soon.
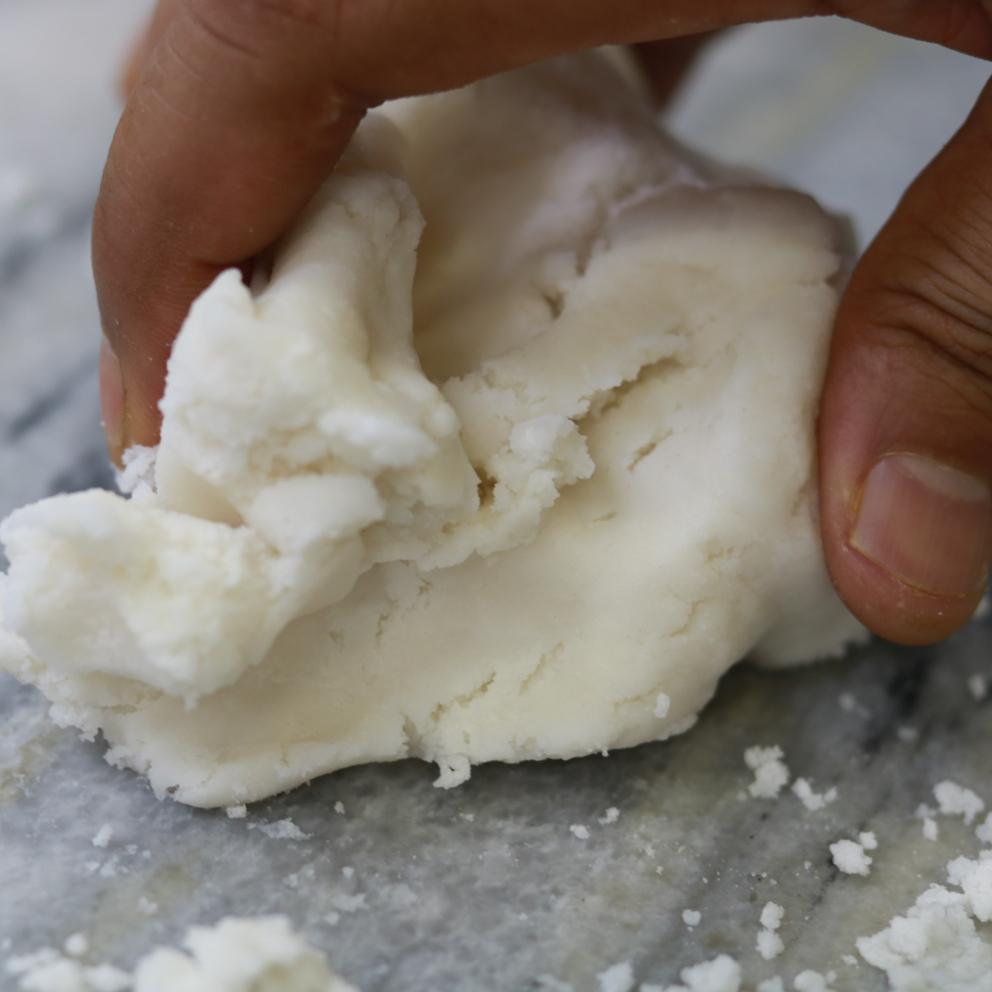
Tip the dough onto a clean surface (watch out, it’s hot!), and let it cool just enough so your fingers don’t sizzle. You’re looking for warm, not scorching. Once it’s touchable, wet your hands and knead for 3–5 minutes, adding more water as needed to keep things smooth. The goal is dough so soft and pliable you could almost sculpt with it—no lumps, no cracks, just silky perfection.
Shape the Bhakari:
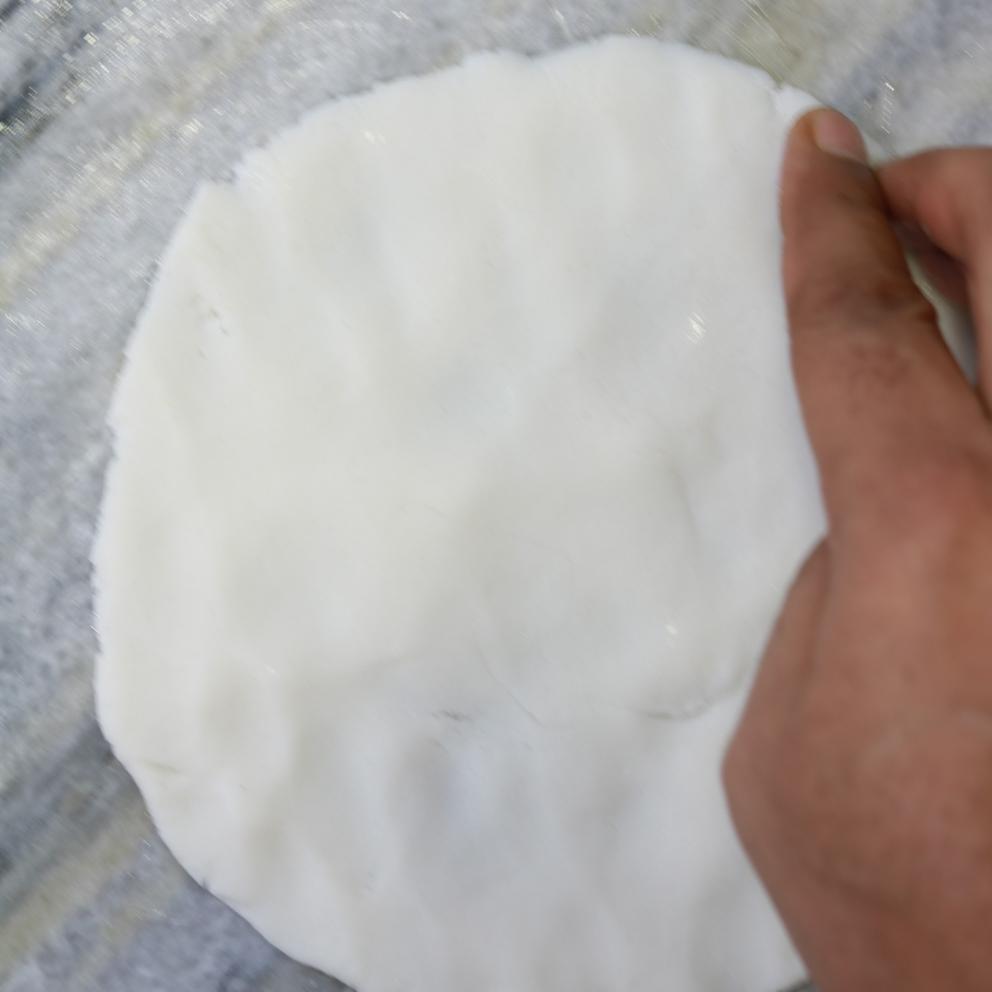
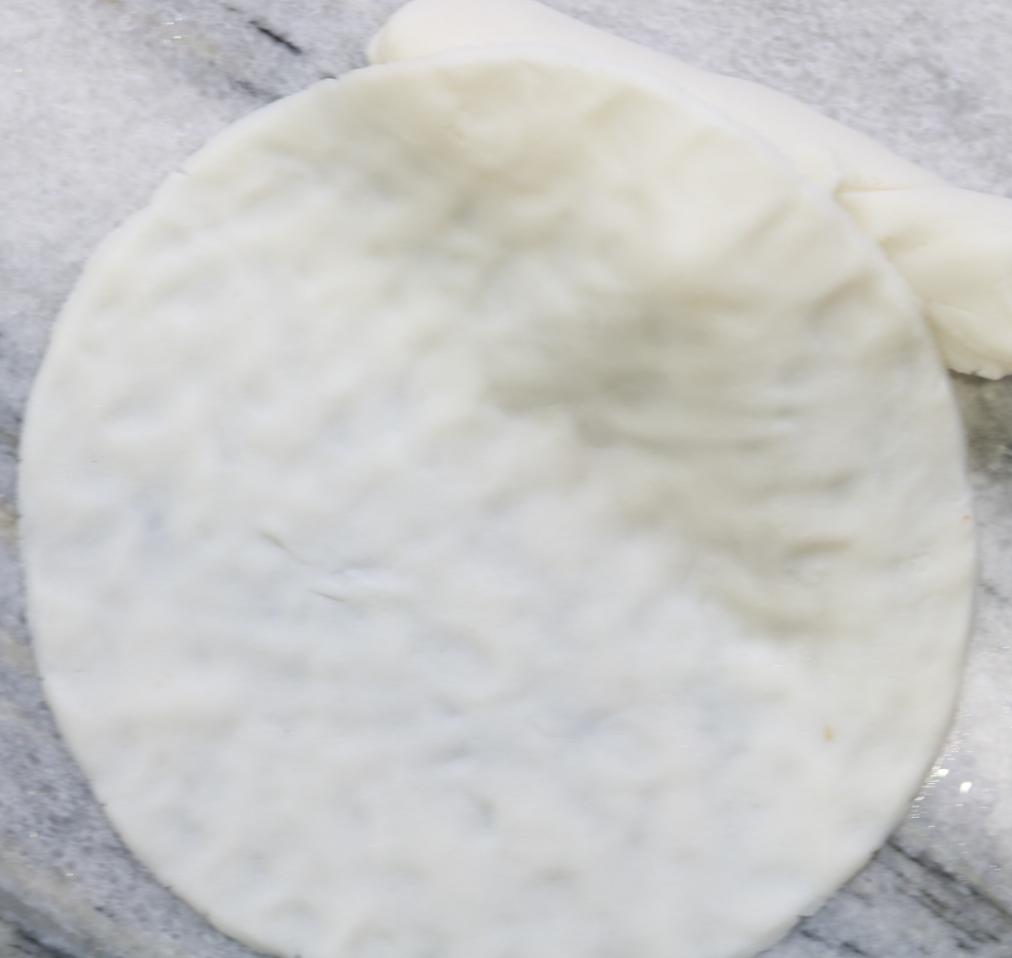
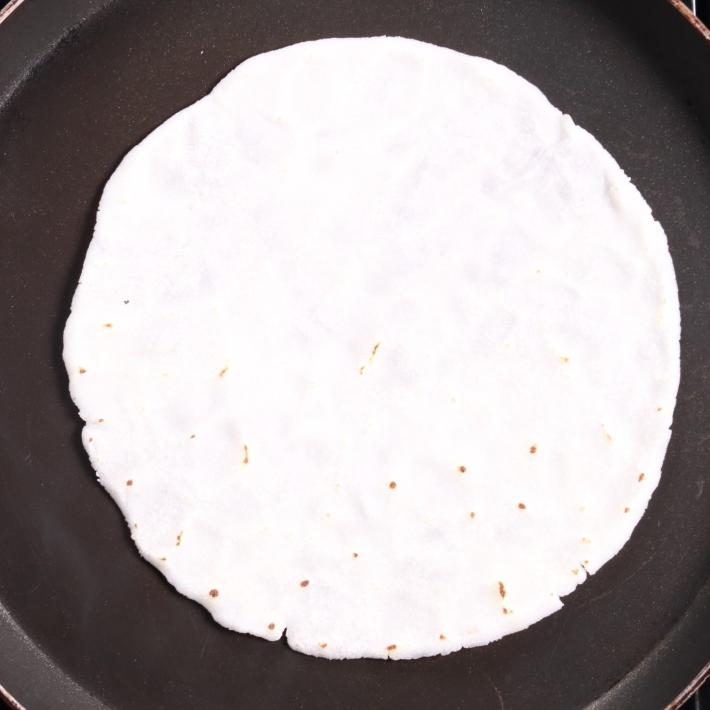
Divide your dough into 4 rounds, about 55 grams each. Grab one, keep your hands lightly wet, and gently flatten the dough on a clean surface. Now comes the fun part press, pat, and coax the dough into a round, even disc, smoothing out any cracks at the edges. If it sticks or cracks, wet your hands again and keep going. Persistence pays off here. You want each bhakari to be about 5–6 inches across and no more than 3–4 mm thick. Believe me, it’s okay if they’re not perfectly round the first few times, mine certainly weren’t!
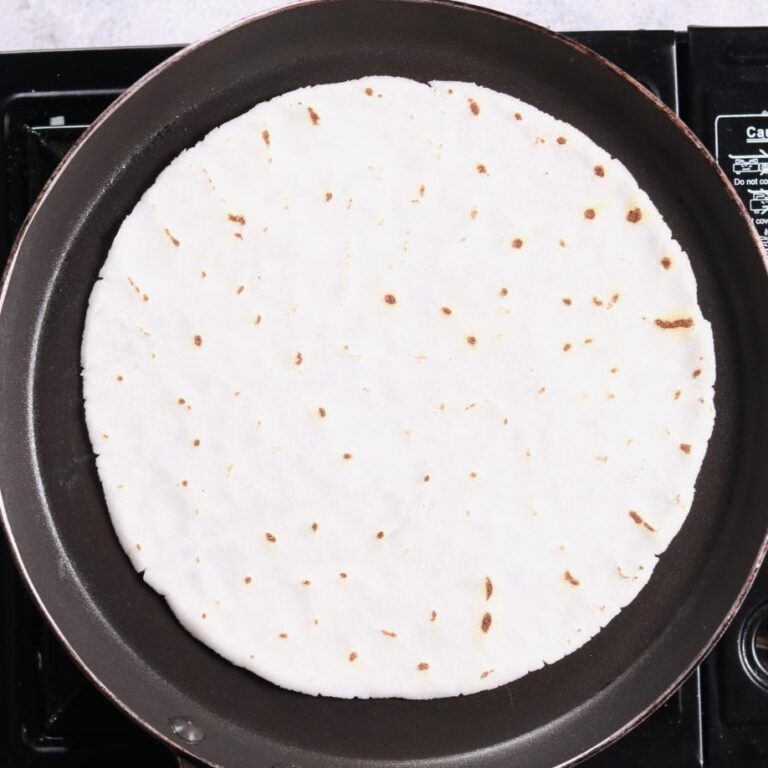
Cook the Bhakari:
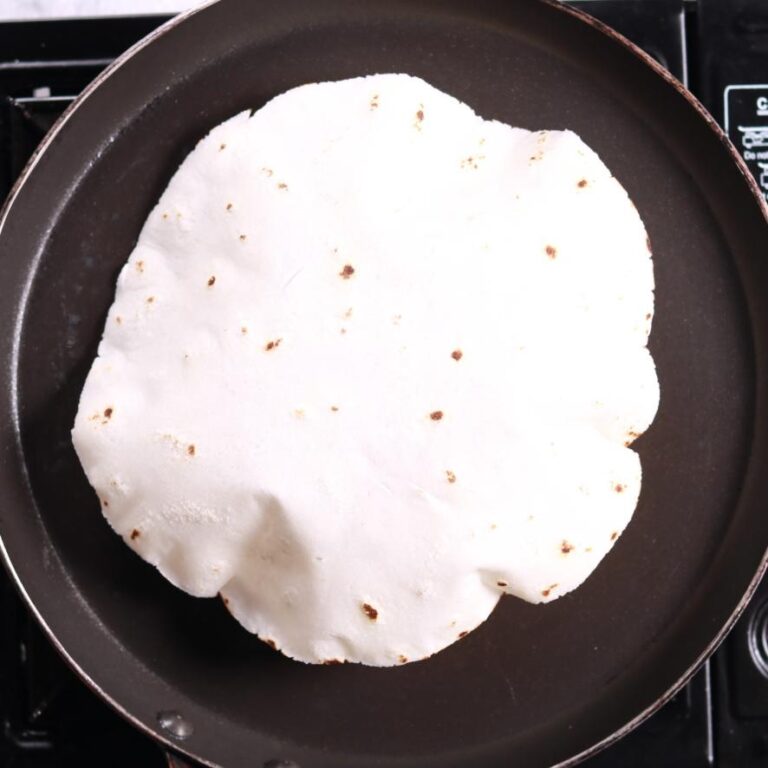
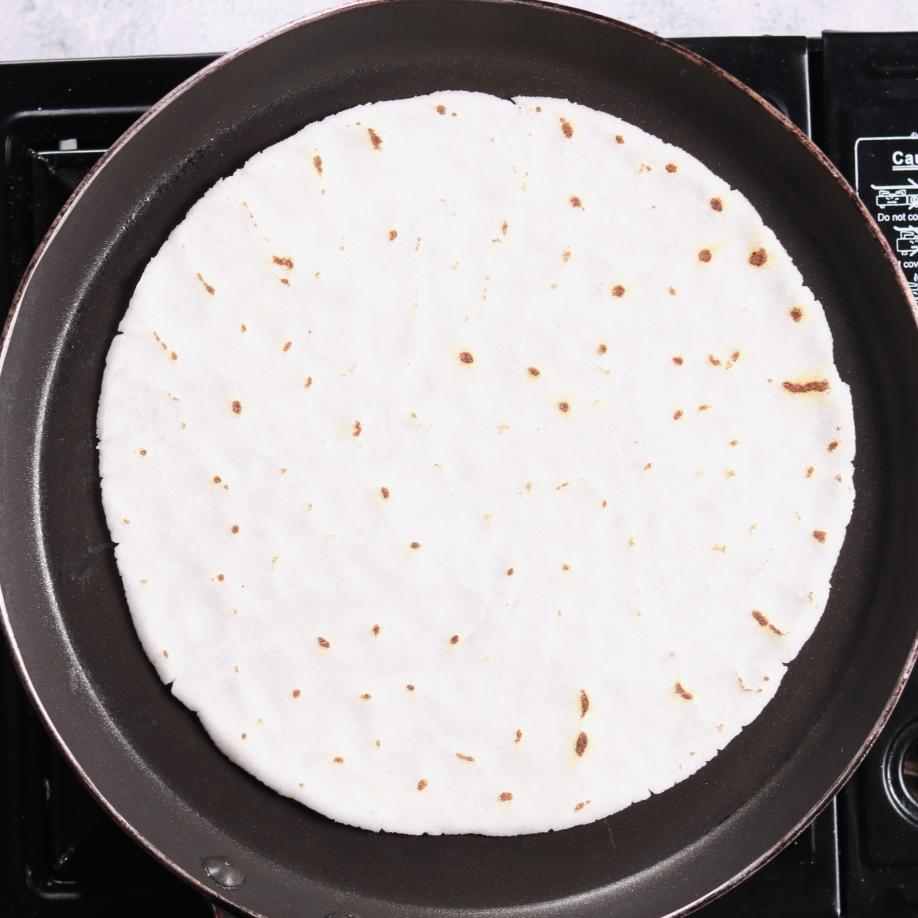
Heat up your tawa (griddle) or skillet over high heat. Don’t skimp on the heat, or your bhakari will dry out too quickly. Lay a bhakari on the hot surface, rough side down, for about 30 seconds until the underside looks dry and has some light spots. Flip and cook the other side for 15–20 seconds more. Use a spatula or kitchen cloth to press gently, helping the steam to puff up the bhakari. Wrap each cooked bhakari in a clean cloth or keep it covered in a container. This keeps them soft and cosy, just the way they should be.
Tips for Perfect Bhakari
Making Rice Bhakari is a bit like learning to ride a skateboard—wobbly at first, but smoother with practice. Here are a few things I’ve learned the hard way:
- Dough temperature matters: Cook your dough while it’s still hot, then let it cool just enough to handle. Too cold, and it’s hard to shape. Too hot, and you’ll be doing the “ouch dance.”
- Keep your hands wet: Rice flour dough is clingy. Wet hands are your secret weapon for shaping smooth, crack-free discs.
- Even thickness is key: Too thick, and your bhakari will be chewy. Too thin, and it might tear. Aim for that sweet spot in the middle.
- Don’t overcook: Rice Bhakari dries out fast. A quick sear on both sides is all you need—no lingering on the griddle.
- Embrace imperfection: The first one or two might not look restaurant-ready. That’s totally okay! They’ll taste just as good, and you’ll only get better.
Serving Suggestions
Rice Bhakari is delicious with just about anything, but it’s especially good with simple, homestyle dishes. Here are a few ways to enjoy your gluten-free flatbread:
- With dal or sambar: For a classic pairing, tear off pieces and scoop up your favorite lentils.
- Alongside spicy curries: The mild flavor balances out fiery flavors, and the soft texture soaks up sauces beautifully.
- With chutney or yogurt: For a quick snack, try it with coconut or mint chutney, or even a spoonful of cool dahi.
- As a wrap: Fill it with stir-fried veggies or leftover sabzi for an easy, packable lunch.
Rice Bhakari isn’t just for dinners it’s a friendly, versatile bread that fits right into all sorts of meals. Give yourself permission to play around with it!
Storing and Reheating
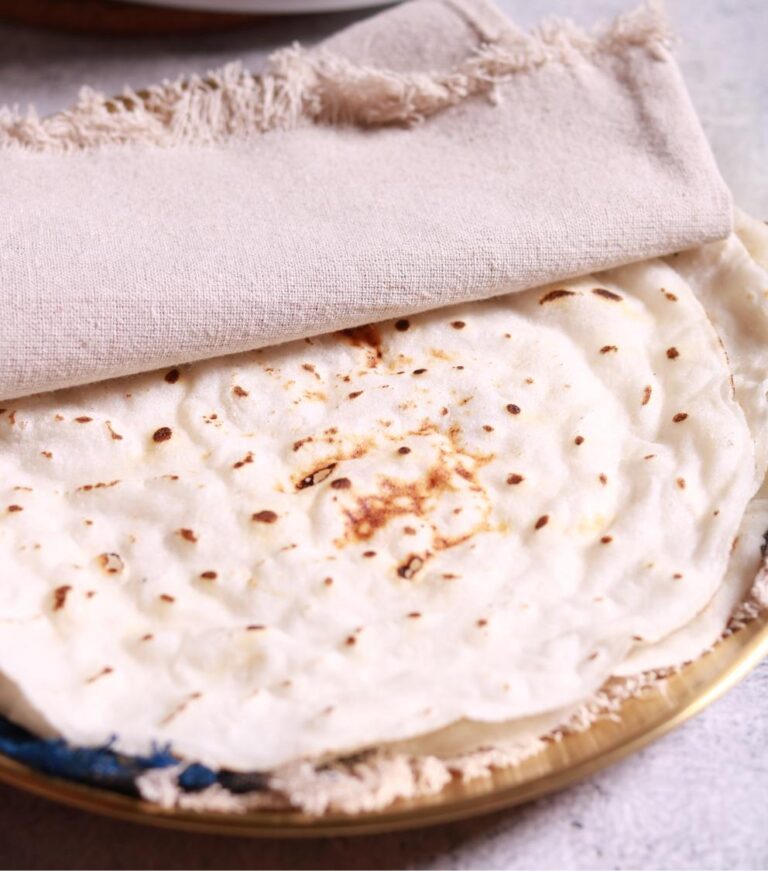
Rice Bhakari is best enjoyed fresh nothing beats the softness right off the griddle. If you have leftovers, wrap them in a clean cloth and tuck them into an airtight container. They’ll keep for a day or so at room temperature, and a bit longer in the fridge, though the texture gets a little chewier.
To revive a dry bhakari, just warm it up on a hot griddle for a few seconds that’ll bring back the softness. Some folks even sprinkle a few drops of water on each side before reheating. I won’t lie, they’re not quite as fluffy as fresh, but they’re still a tasty, gluten-free option for lunchboxes or snacks.
FAQs about Rice Bhakari
Can I make Rice Bhakari with brown rice flour?
Absolutely! Brown rice flour works, though it has a nuttier, chewier texture. If you prefer the softer mouthfeel, stick with white rice flour.
How do I keep Rice Bhakari from cracking while shaping?
Keep your hands wet and the dough slightly warm. If you do get cracks, just pat the dough with a little water and smooth them out your bhakari will forgive you.
Can I add salt to the dough?
Sure, if you like a little seasoning, add a pinch or two of salt. Most traditional recipes skip it, but it’s not a deal-breaker.
Why does my Bhakari turn hard after cooking?
Overcooking is usually the culprit. Just a quick sear on each side is enough, don’t let them linger on the tawa for too long.
Can I reheat Rice Bhakari in the microwave?
You can, but it’s way better on the stovetop. Microwaving can make them a bit tough and chewy.
Is Rice Bhakari good for people with diabetes?
While rice flour is gluten-free, it’s still starch-heavy, so people with diabetes should enjoy it in moderation as part of a balanced meal.

Ingredients
For the Dough
- 1½ cups fine rice flour chawal ka atta
- 150 ml not boiling
- Additional water for shaping
Instructions
Prepare the Dough
- Pour 150 ml water into a heavy-bottomed pan and heat until just about to boil (look for tiny bubbles).
- Reduce heat to low. Add 1½ cups fine rice flour all at once.
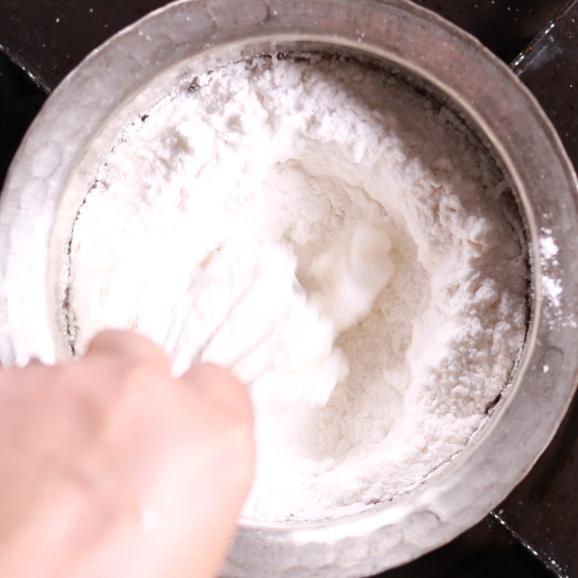
- Stir vigorously with a wooden spatula or whisk until the mixture comes together and looks like a soft dough.
- Remove the dough onto a clean flat surface. Let it cool for 2–3 minutes until safe to handle but still warm.

- Wet your hands with water and knead the dough well for 3–5 minutes. Keep wetting your hands as needed. The
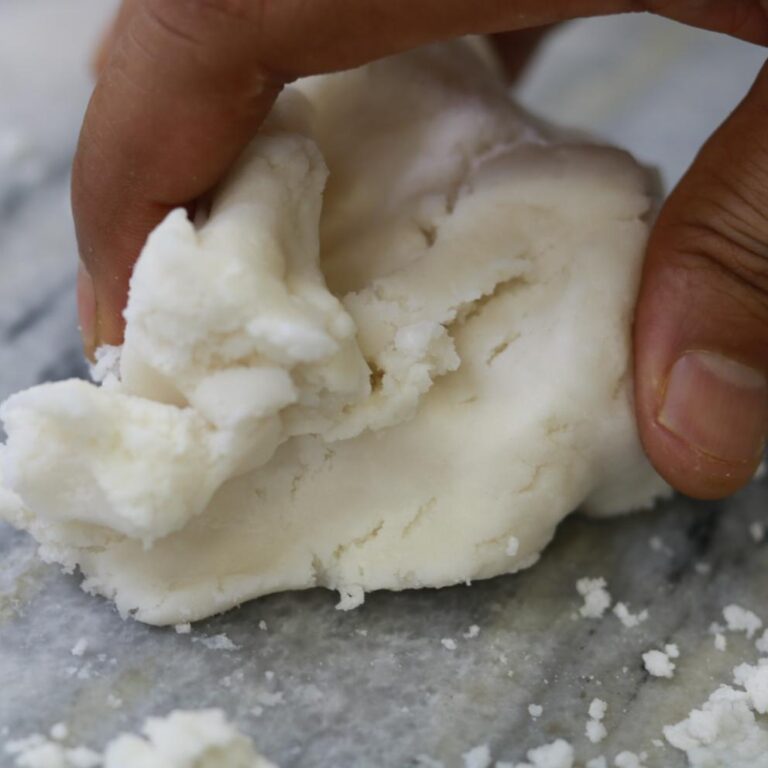
- The dough should be very smooth, soft, lump-free & easy to shape into balls without cracks.
Shape the Bhakari
- Split the dough into 4 equal portions (about 55 grams each).

- Place one dough ball on a clean surface. Gently flatten with your palms, using wet hands to prevent sticking.

- Keep pressing and spreading the dough outward in gentle circles, smoothing any cracks at the edges. Aim for a round, even disc about 5–6 inches wide and 3–4 mm thick.

Cook the Bhakari
- Heat a tawa (griddle) or nonstick skillet over high heat until hot.
- Carefully place a bhakari on the hot griddle, rough side down. Cook for 30 seconds until the underside looks dry and lightly spotted.
- Turn the bhakari and cook the other side for 15–20 seconds.
- Using a spatula or clean kitchen cloth, gently press and rotate the bhakari. It should puff up with steam.
- Immediately wrap the cooked bhakari in a clean cloth or keep in a covered container to prevent drying out.
- Cook the remaining bhakaris the same way.


Notes